How to Clean Walls Without Damaging Paint
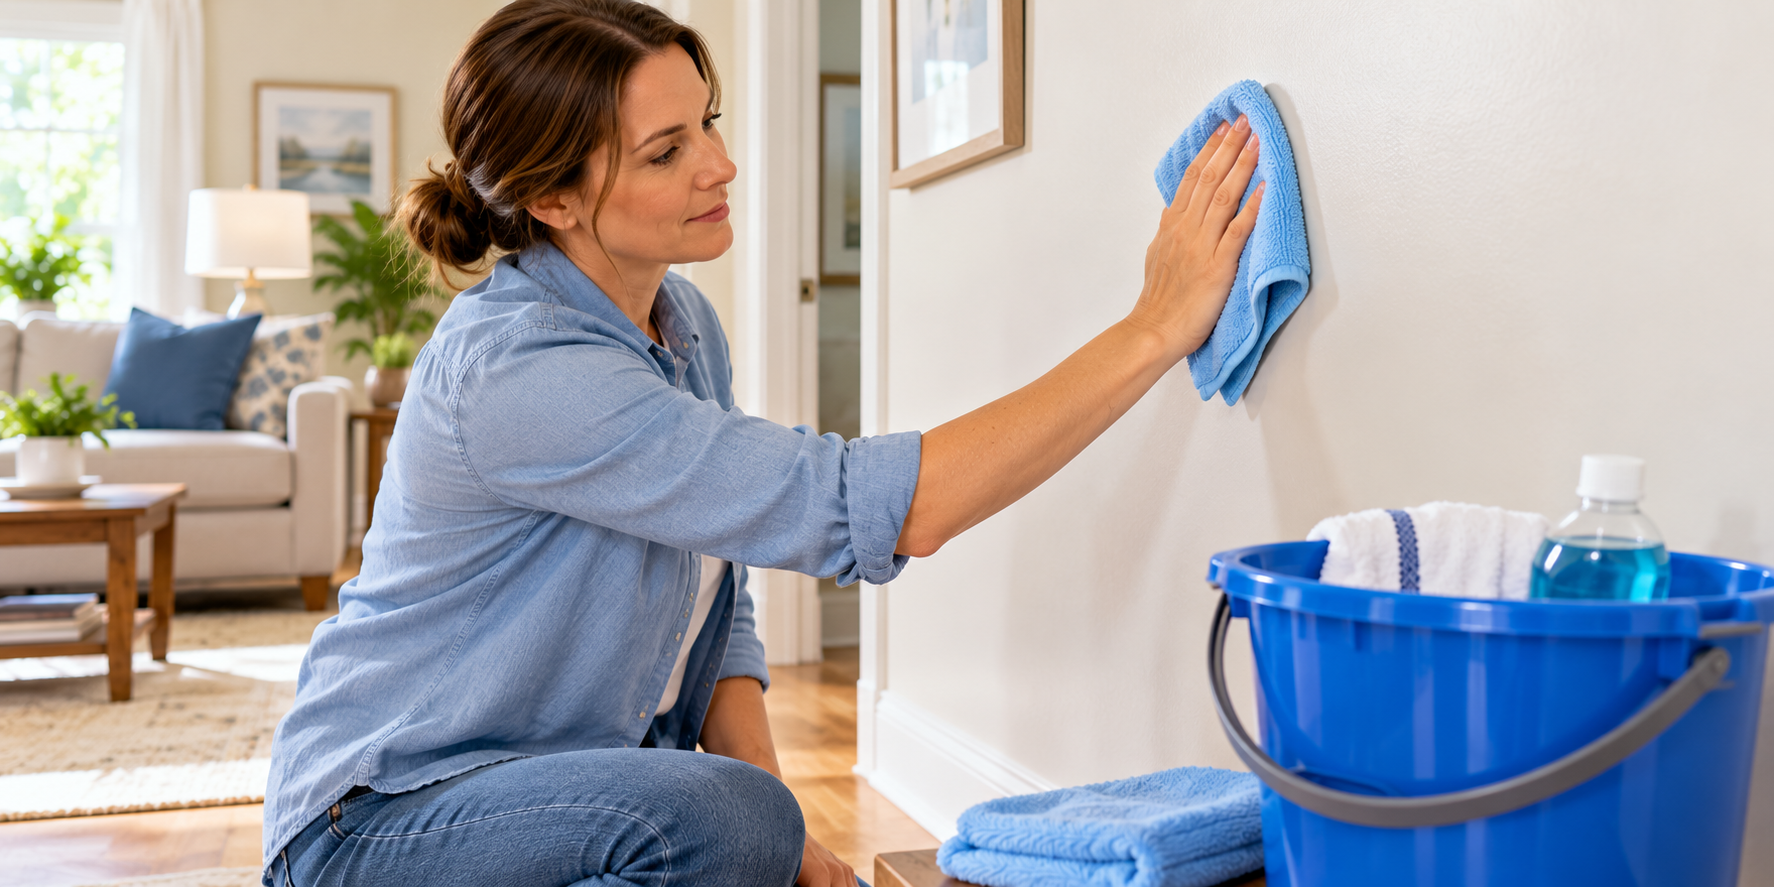
When was the last time you cleaned your walls?
Not the floors. Not the countertops. The walls.
If you're having trouble remembering, you're in good company.
Walls have a remarkable ability to collect dust, fingerprints, cooking grease, and mysterious smudges while somehow looking perfectly innocent.
Then one afternoon, sunlight streams through the window at just the right angle, and suddenly you can see every handprint your family has left behind.
The good news is that cleaning painted walls is usually easier than you think.
You don't need expensive equipment or an entire afternoon. For most washable painted surfaces, a soft cloth, a little mild cleaning solution, and a gentle touch will do the job.
The trick is knowing what kind of paint you're cleaning—and when to stop scrubbing.
Here's how to clean walls safely, remove common marks, and keep your rooms looking fresh without damaging the paint.
Before You Start: Know Your Wall Finish
Not all painted walls can handle the same cleaning treatment.Some paint finishes are more resistant to moisture and rubbing than others.
Paint Finish Cleaning Considerations
Flat Often marks easily and may burnish when rubbed
Matte Usually needs gentle spot-cleaning
Eggshell May tolerate light damp cleaning, depending on the paint
Satin Generally more washable, but can still be damaged
Gloss Usually easier to wipe clean, but abrasive tools can scratch it
These are general guidelines. Modern washable matte paints, for example, may tolerate more cleaning than some older satin finishes.
Always follow the paint manufacturer's instructions when available.
And before washing a large area, test your cleaning method in an inconspicuous spot. If color transfers to your cloth, the surface becomes shiny, or the paint begins to soften, stop.
What You'll Need to Clean Painted Walls
You probably already have most of these supplies.
- Microfiber cloths
- Soft sponge
- Two buckets
- Mild hand dishwashing liquid
- Warm water
- Soft-bristled vacuum attachment or microfiber duster
- Dry towels
- Drop cloths or old sheets to protect floors
- Stable step stool, if necessary
For higher walls, a clean microfiber flat mop can be helpful, provided you can control the pressure and moisture.
Avoid abrasive scrubbers, stiff brushes, and soaking-wet sponges. And resist the temptation to start with the strongest cleaner in the cupboard. Your walls would prefer a gentler introduction.
How to Clean Painted Walls Step-by-Step
For washable painted walls, this is a straightforward method that works well for ordinary household dirt.
Step 1: Protect the Area
Move lightweight furniture away from the wall. Place old towels or a drop cloth along the baseboards to catch drips.
Remove pictures and decorations if you're cleaning the entire wall. Take care around electrical outlets and switches. Never allow water or cleaning solution to enter electrical fittings.
Step 2: Dust the Walls First
This step is easy to overlook, but it makes a real difference. Use a microfiber duster or a vacuum with a soft brush attachment to remove loose dust.
Work from the top of the wall downward. Pay attention to corners, molding, and areas behind furniture. Dusting first prevents loose dirt from turning into muddy streaks when you begin washing.
Step 3: Mix a Gentle Cleaning Solution
Fill one bucket with warm water and add a small amount of mild dishwashing liquid. A few drops are usually enough to start. Fill a second bucket with clean water for rinsing.
Don't make the solution excessively soapy. Too much detergent can leave residue and create additional work. For lightly dusty walls, a cloth dampened with plain water may be sufficient.
Step 4: Test a Hidden Spot
Before cleaning the main wall, gently wipe an inconspicuous area. Allow it to dry completely. Check for color transfer, changes in sheen, streaking, or other damage. If the finish reacts poorly, avoid washing the wall and consult the paint manufacturer.
Step 5: Clean in Small Sections
Dip a soft sponge or microfiber cloth into your cleaning solution. Wring it out thoroughly. The cloth should be damp, not dripping. Gently wipe a small section using light pressure.
For a washable wall, work methodically from one area to the next rather than scrubbing randomly.
When washing an entire wall, many people find it helpful to clean from the bottom upward in overlapping sections to reduce dirty-water runs.
Dusting, however, should always begin at the top. Avoid repeatedly rubbing the same spot.
Step 6: Remove Cleaning Residue
Use a separate clean cloth lightly dampened with plain water to remove any remaining soap, if the finish tolerates it. Don't soak the surface.
Step 7: Dry the Wall
Gently blot or wipe the area with a clean, dry microfiber cloth. Allow the wall to air-dry fully before moving furniture back.
Good ventilation helps. And that's it. One clean section down, several suspicious fingerprints to go.
How to Remove Fingerprints From Walls
Fingerprints are especially common around light switches, doorways, staircases, and children's bedrooms. Start with a dry microfiber cloth. If that doesn't work, try a lightly damp cloth.
For oily fingerprints on washable paint, add a small amount of mild dishwashing liquid to the cloth. Wipe gently, remove residue, and dry.
Avoid spraying cleaner directly onto the wall, especially near switches and outlets.
Tip: Clean high-touch spots regularly rather than waiting until they become heavily soiled. Small marks are usually easier to remove than months of accumulated grime.
How to Remove Scuff Marks From Painted Walls
Shoes, backpacks, furniture, and vacuum cleaners can leave dark scuff marks. Try these methods in order:
- Gently wipe with a clean, dry microfiber cloth.
- Try a cloth lightly dampened with water.
- If the paint is washable, use a little mild soapy water.
- Dry and inspect the area.
You may have heard that melamine foam sponges, often called magic erasers, are perfect for removing wall marks. They can remove certain marks, but they're also mildly abrasive.
On flat, matte, or delicate finishes, they may remove paint or leave shiny patches.
If you use one, follow the product directions, test first, and apply minimal pressure. Sometimes a tiny scuff is less noticeable than the polished-looking patch left by overzealous cleaning.
How to Clean Greasy Kitchen Walls
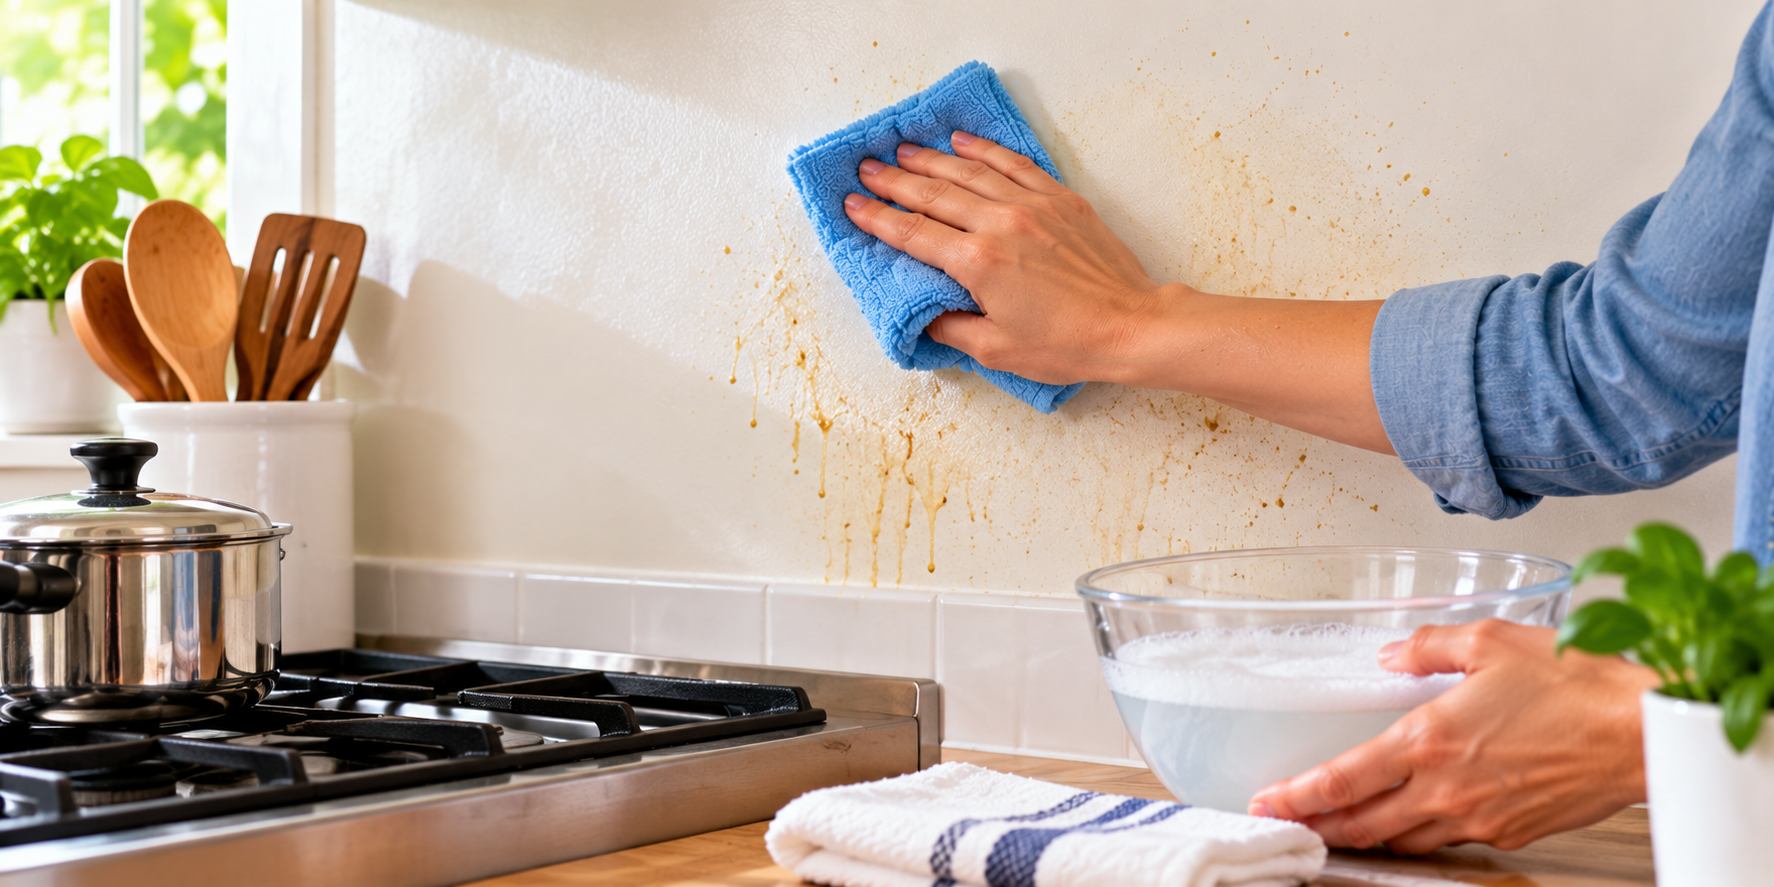
Kitchen walls collect more than dust. Cooking oils, airborne grease, and food splatters can gradually create a sticky film, especially near the stove.
For washable painted walls:
- Remove loose dust.
- Mix a small amount of mild dishwashing liquid into warm water.
- Dampen a soft cloth and wring it out.
- Gently wipe greasy areas.
- Remove any soapy residue with a separate damp cloth.
- Dry thoroughly.
For stubborn grease, choose a cleaner specifically approved for your paint finish. Avoid strong degreasers unless the manufacturer confirms they're suitable.
Harsh products can strip or dull the finish. And remember to check nearby cabinets and backsplash surfaces, too. Grease rarely stops at the edge of the wall.
How to Clean Bathroom Walls
Bathroom walls deal with humidity, splashes, and sometimes soap residue. The areas around and behind the toilet deserve particular attention.
Cleaning Walls Around the Toilet
Use a soft cloth and a mild cleaner compatible with the wall finish. Wipe away visible soil, paying attention to corners and the wall behind the toilet.
Use a separate cloth for toilet-adjacent areas rather than returning it to your general wall-cleaning supplies. Remove cleaning residue if required, then dry the surface thoroughly.
Cleaning and disinfecting are not the same thing. Soap and water remove dirt and many germs, but they don't reliably disinfect a surface.
If disinfection is needed, use an EPA-registered disinfectant specifically labeled for the wall surface, following its instructions for application and contact time.
Not every painted wall can tolerate disinfectants. Don't assume ordinary bathroom cleaners, bleach solutions, or alcohol are safe for paint.
Preventing Moisture Problems
Run the bathroom exhaust fan during showers and afterward as needed. Wipe up splashes promptly.
If paint is peeling, bubbling, or repeatedly developing mold, investigate the moisture source before cleaning or repainting.
How to Remove Crayon Marks From Walls
Crayon artwork on the wall is one of those childhood milestones nobody particularly looks forward to. Start with a dry, soft cloth.
If the mark remains, test a lightly damp cloth with a little mild dishwashing solution on a hidden area. Gently work on the crayon without spreading it.
Don't scrape with sharp tools or scrub aggressively. Some specialty crayon removers may work, but check their compatibility with painted surfaces before using them.
For delicate flat paint, a small touch-up may be safer than repeated scrubbing. And perhaps this is a good time to introduce a very large drawing pad.
How to Remove Pencil Marks From Walls
For ordinary graphite pencil marks, a clean white vinyl eraser may help. Use very light pressure and test first. Erasers can burnish or damage certain paint finishes.
If the mark doesn't lift easily, try a slightly damp microfiber cloth on washable paint. Avoid aggressive rubbing.
Permanent marker and ink stains are more difficult. Solvents that remove ink may also remove paint, so professional advice or repainting may be the safest solution.
How to Clean Walls With Flat or Matte Paint
Flat and matte walls need extra care. These finishes can show rubbing marks and changes in sheen even when the paint itself doesn't visibly come off.
Begin with gentle dusting. For small spots, try a clean, barely damp microfiber cloth only if the paint is rated as washable.
Blot rather than scrub. Stop if you notice:
- Paint transferring to the cloth
- A shiny patch developing
- Color fading
- Surface texture changing
For stubborn marks, touching up the paint may give a better result than continued cleaning. Keep a small amount of properly stored matching paint for future repairs, if possible.
Can You Clean Walls With Vinegar?
Vinegar is often recommended for almost every cleaning job in the house. But it's not automatically the best choice for painted walls. Vinegar is acidic and may be unsuitable for certain paint finishes or coatings.
A little mild dishwashing liquid and water is generally a more sensible starting point for washable painted surfaces.
Follow the paint manufacturer's guidance and always test first. Don't mix vinegar with bleach or other cleaning chemicals.
Can You Use a Steam Cleaner on Painted Walls?
Steam cleaning may sound like a quick way to loosen grime, but heat and moisture can damage paint, soften coatings, or affect wallpaper and wallboard.
Unless the wall-covering or paint manufacturer specifically approves steam cleaning, avoid it. A lightly damp cloth is a safer choice for most routine wall cleaning.
What About Wallpaper and Textured Walls?
Not every wall should be washed like painted drywall.
Wallpaper: Some vinyl-coated wallpapers are washable, while traditional paper and specialty coverings may be damaged by water. Follow the wallpaper manufacturer's instructions.
Textured painted walls: Use a soft brush or vacuum attachment to remove dust from crevices. If the paint is washable, clean gently without soaking the texture.
Unfinished plaster: Avoid ordinary wet washing unless the surface has a suitable protective finish.
Wood-paneled walls: Follow the wood finish manufacturer's care instructions rather than using general painted-wall cleaning methods.
When in doubt, identify the surface before applying moisture.
Frequently Asked Questions About Cleaning Walls
What is the best thing to clean painted walls with?
For most washable painted walls, start with a clean microfiber cloth and water. If necessary, use a small amount of mild dishwashing liquid in water. Always test first.
How do you clean walls without removing paint?
Dust first, use minimal moisture, avoid abrasive tools, and apply gentle pressure. The safest method depends on the paint finish and its washability.
Should you wash walls from top to bottom or bottom to top?
Dust from top to bottom. When washing a large washable wall, working upward in manageable sections can help minimize dirty-water streaks. Keep the cloth well wrung out.
Can I use a magic eraser on painted walls?
Sometimes, but melamine foam is abrasive and may dull or remove paint. Test in a hidden area and avoid aggressive rubbing, especially on matte and flat finishes.
How do you remove greasy fingerprints from walls?
On washable paint, try a soft cloth dampened with a mild dishwashing-liquid solution. Wipe gently, remove residue, and dry.
Can you use dish soap to clean walls?
A small amount of mild dishwashing liquid can be suitable for many washable painted walls. Avoid strong concentrations and test first.
How often should you wash painted walls?
Spot-clean as needed and dust periodically. A full wash is generally necessary only when visible soil has accumulated, assuming the finish is washable.
What if my walls still look dirty after cleaning?
If the problem is paint wear, fading, staining, or burnishing, additional cleaning may not help. Touch-up painting or repainting may be the better option.
Keep Going: More Ways to Keep Your Home Clean
A House Cleaning Schedule That Works
Keep everyday cleaning under control without spending your entire weekend doing it.
Allergy Relief Cleaning Tips
Reduce household dust and other common indoor irritants.
Coming Clean at Home
Explore cleaning guides for every room and surface.
- Clean Home
- Clean
- Cleaning Walls