7 Step Kitchen Cleaning
This 7 step kitchen cleaning method is straightforward. It begins with decluttering and ends with mopping your way out the door. It's a simple yet effective way to keep your kitchen clean and organized.
As you progress, you'll address the key surfaces that require weekly cleaning. Here, the use of specialized cleaners comes into play, doing the heavy lifting for you. Your task is then to return and clean these surfaces thoroughly.
1. 7 Step Kitchen Cleaning Begins With Surface Decluttering
Step one: Remove anything that's out of place, such as dishes languishing in the sink, the kids' homework on the kitchen table, and everything from the counters.
Send oven mitts and dishtowels into the wash. Toss anything from the fridge that's past its prime (see food safety tips for guidelines) or the family won't eat, no matter how hungry. Decluttering is the first essential step for a clean kitchen.
2. 7 Step Kitchen Cleaning Spot Patrol
Step two of the 7 step kitchen cleaning process is ' Spot patrol '. This step is designed to save you time and effort.
Instead of struggling to remove dried foods or baked-on spills from your countertops and stove, a generous spritz of all-purpose cleaner will do the trick.
Allow the cleaner to penetrate the grime while you move on to step three.
3. Soak It Up
Step three: Soak it up. Fill the sink with hot, soapy water and place your stove-burner rings and vent-hood filter inside to soak for at least 15 to 20 minutes to soften the baked-on food spills and splatters. (Your dishwasher could scratch the decorative surface of some burner rings.)
4. Oven Duty
The 7 step kitchen cleaning routine for ovens. Step four: Open the (cool) oven and remove the oven racks. Scrape off any burned-on stains with a dull knife held at a 30-degree angle.
Use an oven cleaner for manually cleaned ovens. If you have a self-cleaning oven, simply turn it on and let the appliance clean itself. Don't use an oven cleaner in a self-cleaning oven; it may damage the surface.
To eliminate the need for frequent deep cleanings in the future, sponge away oven spills before they dry or are burned too crisp. For baked-on messes in the microwave, apply hand dishwashing detergent using your scrubber sponge; rinse clean.
5. Surface Cleaning
Step five: Surface duty. After you've obliterated the baked-on messes in the oven, work your way around the kitchen cleaning the other surfaces.
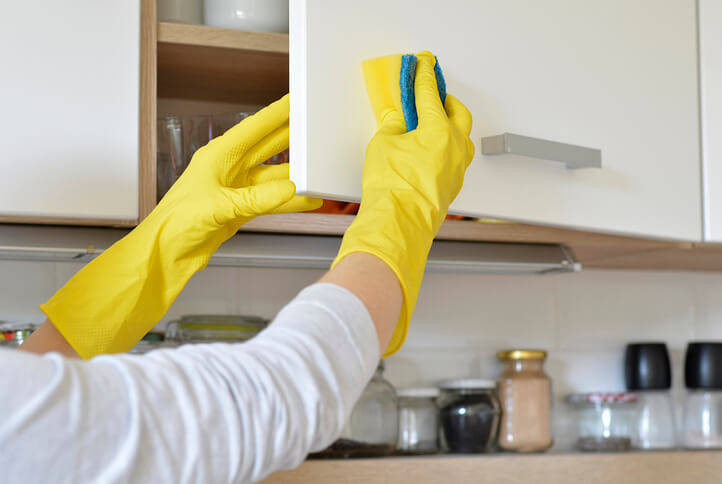
First, wipe up the spots you sprayed in step two. Then, use an all-purpose cleaner to wipe down the countertops, the oven exterior, the cabinets, the dishwasher, and the refrigerator.
To prevent streak marks when cleaning large vertical areas such as appliance surfaces, start at the bottom and work up, overlapping areas with a circular motion. Rinse the sponge and reapply the cleaner frequently.
By making one thorough cleaning trip around the room, you're sure to hit all the surface hot spots.
Finish by spraying a disinfectant cleaner on the countertops and refrigerator handle, allowing the cleaner to sit for at least 10 minutes.
6. 7 Step Kitchen Cleaning Finishing Touches
Step six: Finishing touches for a clean kitchen. Retrieve the vent-hood filter and stove-burner rings soaking in the sink; sponge them clean of any lingering grime; rinse, dry, and put them back in place.
Clean the sink and faucet with a sponge and dishwashing liquid or all-purpose cleaner to remove any residue. Spritz the faucet with a glass cleaner and polish dry. Wipe the countertops and refrigerator door handle clean of disinfectant.
7. Floor Time
Step seven: Floortime. Sweep first to remove corner crumbs and then mop with a floor-care product designed for your floor type.
Remember that flooring can become cloudy with built-up residue from the cleaning solution, so be sure to rinse thoroughly after each cleaning.
Better still: Use a no-rinse floor-cleaning product and mop your way out the kitchen door. If you spot-clean spills immediately after they happen, your floors will stay cleaner between moppings.
- Clean Home
- Kitchen
- 7 Step Kitchen Cleaning


