12 Easy Homemade Christmas
Ornament Ideas

Homemade Christmas ornaments have a charm that store-bought decorations can't quite match.
Especially the ones your kids made when they were little.
You know the ones. The crooked paper snowflake. The salt dough handprint with five fingers that somehow became six. The glitter-covered creation that continues shedding sparkles fifteen Christmases later.
They're not necessarily beautiful by anyone else's standards. But they're yours.
And making them can be half the fun.
These easy homemade Christmas ornament ideas use inexpensive supplies, simple techniques, and materials you may already have around the house.
No elaborate equipment. No professional crafting skills. And absolutely no requirement that your Christmas tree look like it belongs in a decorating magazine.
Before You Start: Gather Your Ornament-Making Supplies
You don't need an entire craft store to make homemade Christmas ornaments.
Start with a few basics:
- Construction paper or cardstock
- Child-safe scissors
- White craft glue
- Ribbon, twine, or yarn
- Washable markers and paint
- Felt scraps
- Wooden craft sticks
- Cookie cutters
- Hole punch
- Buttons and other decorations
- Baking parchment
- A washable table covering
Choose projects based on your children's ages and abilities.
Small beads, buttons, and other loose decorations are choking hazards for young children. Adults should handle hot glue guns, ovens, sharp tools, and anything involving heat.
And if you're working with glitter, consider using it sparingly. Unless, of course, you've always wanted a dining room floor that sparkles until Easter.
1. Make Salt Dough Christmas Ornaments
Salt dough ornaments are inexpensive, easy to personalize, and wonderful for preserving little handprints.
What You'll Need
- 2 cups all-purpose flour
- 1 cup table salt
- About 1 cup water
- Rolling pin
- Cookie cutters
- Straw for making hanging holes
- Paint and ribbon
How to Make Them
- Combine the flour and salt in a bowl.
- Gradually add water, mixing until a workable dough forms. You may not need every drop.
- Knead until smooth.
- Roll the dough to approximately 1/4 inch thick.
- Cut out shapes using cookie cutters.
- Make a hanging hole near the top of each ornament with a straw.
- Allow the ornaments to air-dry thoroughly, or bake them at a low temperature, around 200°F, on a parchment-lined baking sheet, checking regularly until dry and firm.
Drying time varies considerably depending on thickness and humidity. Oven drying can take several hours.
Let the ornaments cool completely before painting. Once the paint is dry, you can apply a compatible clear craft sealer if desired.
A little advice: Salt dough is not edible, and its high salt content can be dangerous to pets if swallowed. Keep the dough and finished ornaments away from animals and small children who might put them in their mouths.
2. Create Cinnamon Applesauce Ornaments
Want your house to smell like Christmas without baking six dozen cookies? Try cinnamon applesauce ornaments.
What You'll Need
- Approximately 1 cup ground cinnamon
- Approximately 3/4 cup smooth applesauce
- Additional cinnamon as needed
- Cookie cutters
- Rolling pin
- Straw
- Ribbon
How to Make Them
- Mix the cinnamon and applesauce into a firm, rollable dough.
- Adjust with small amounts of cinnamon or applesauce until it holds together without being overly sticky.
- Roll the mixture between sheets of parchment paper to about 1/4 inch thick.
- Cut out your shapes.
- Make a hanging hole in each ornament.
- Place them on parchment and allow them to air-dry for several days, turning occasionally.
Thicker ornaments and humid conditions will increase drying time. Once they're completely dry, thread ribbon through the holes.
These ornaments are decorative, not edible. Keep them away from curious pets and toddlers. They make lovely gifts and can add a gentle cinnamon scent to your holiday decorations.
3. Turn Clear Ornaments Into Mini Snow Scenes
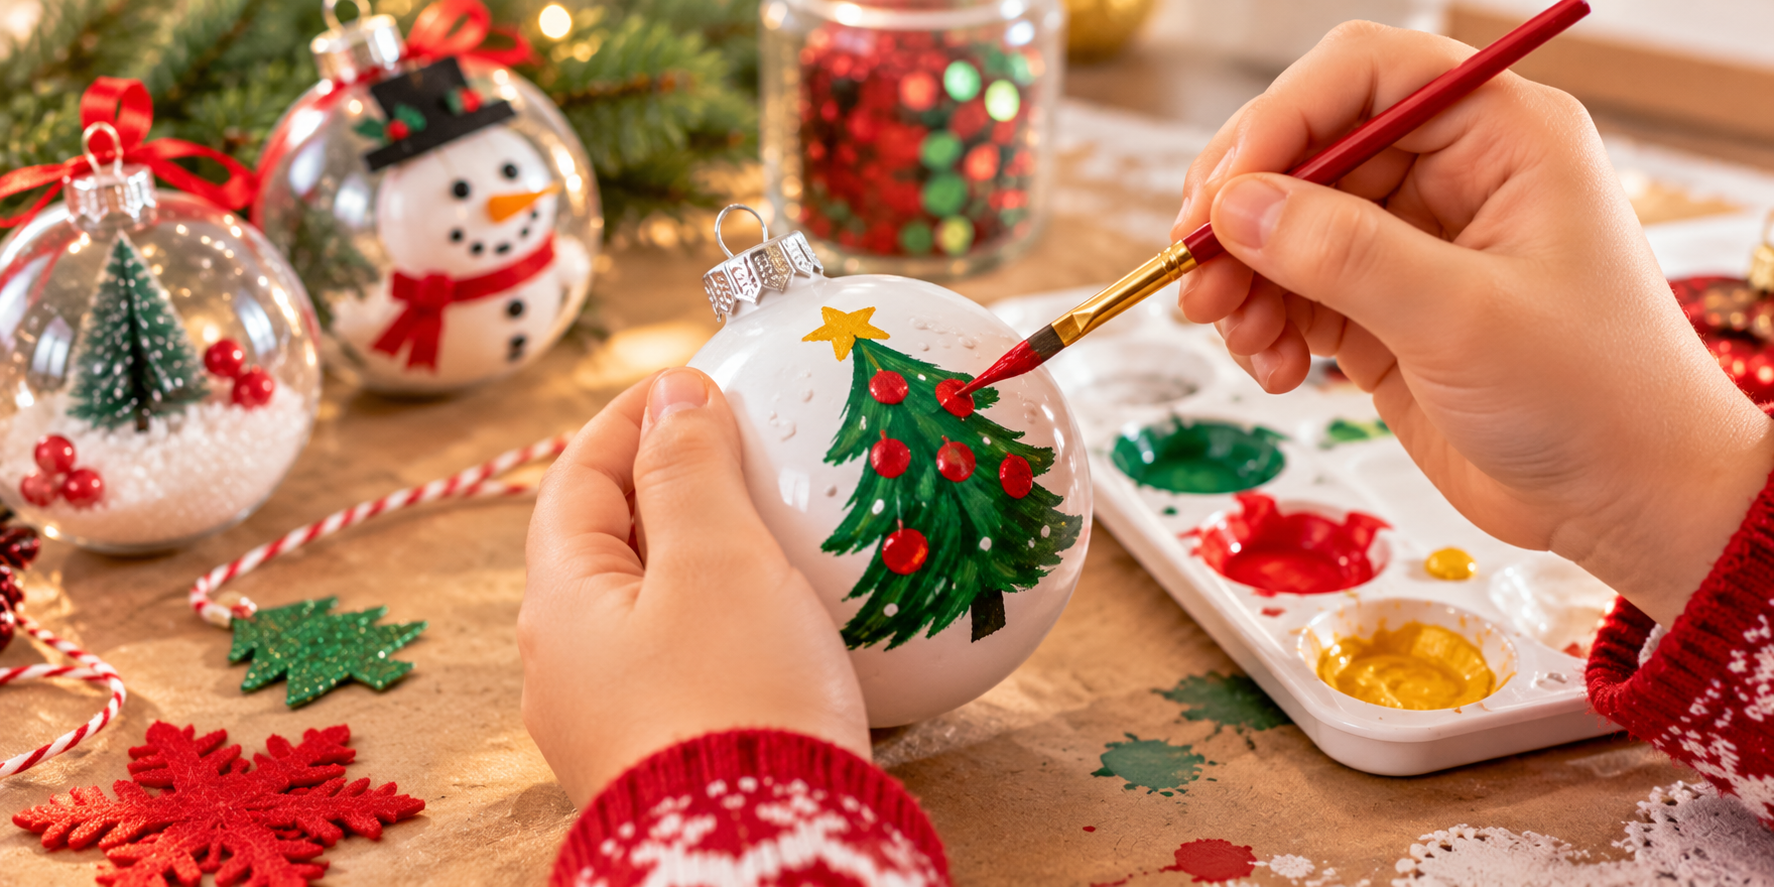
Clear fillable ornaments are terrific for kids because almost anything small enough to fit inside can become a decoration.
Try filling them with:
- Small pieces of white tissue paper
- Artificial snow intended for crafts
- Tiny paper snowflakes
- Lightweight ribbon curls
- Miniature bottlebrush trees that fit securely
Remove the ornament top, add your decorations, and replace the top firmly. Use shatter-resistant plastic ornaments when crafting with children.
My favorite approach: Keep the contents simple. A tiny tree surrounded by white paper snow looks more charming than seventeen unrelated objects fighting for space.
4. Make Paper Snowflake Ornaments
Remember folding paper and cutting random shapes, hoping something wonderful would happen?
Good news. That still works.
What You'll Need
- White paper
- Scissors
- Hole punch
- Thread or ribbon
How to Make Them
- Start with a square piece of paper.
- Fold it diagonally into a triangle.
- Fold it again to create a smaller triangle.
- Make additional folds if the paper isn't too thick.
- Cut small shapes along the folded edges.
- Carefully unfold your snowflake.
- Punch a hole near the top and add a hanging loop.
Every snowflake will look different. Some will be delicate and beautiful.
Others will look like something a moth got into. Hang them anyway.
For longer-lasting ornaments, use lightweight cardstock or laminate the finished snowflakes before adding ribbon.
5. Create Popsicle Stick Christmas Trees
Wooden craft sticks can become adorable little Christmas trees with just a few supplies.
What You'll Need
- Three wooden craft sticks per tree
- Green craft paint
- Craft glue
- Small paper decorations
- Ribbon
How to Make Them
- Paint the craft sticks green and let them dry.
- Glue the ends together to form a triangle.
- Add a small brown cardstock rectangle at the bottom for the trunk.
- Decorate with tiny paper circles, stickers, or paint dots.
- Attach a ribbon loop to the back.
Let the glue dry completely before hanging. You can also paint the sticks white for snowy trees or leave the wood natural for a rustic look.
6. Make Felt Christmas Ornaments
Felt is one of my favorite craft materials because it doesn't fray easily. That means you can cut shapes without spending the afternoon trying to keep the edges from unraveling.
What You'll Need
- Colored felt
- Scissors
- Fabric glue
- Ribbon
- Optional embroidery thread
Cut out simple shapes such as stars, mittens, stockings, trees, or hearts. Decorate them with contrasting felt pieces.
Glue or stitch the pieces together, adding a ribbon loop at the top. Older children may enjoy sewing two felt shapes together and adding a little polyester stuffing.
For younger kids, stick with flat ornaments and fabric glue. They're easier, quicker, and much less likely to end with someone asking where the needle went.
7. Make Photo Christmas Ornaments
Here's an ornament that grandparents will actually want. And probably display every year.
Choose a favorite family photograph and print it at a small size. Cut a circle or another shape from sturdy cardstock.
Attach the photograph using acid-free adhesive, then decorate the border with ribbon, stickers, or paper shapes.
Punch a hole at the top and add a hanging loop. Write the year on the back.
You can also laminate the photograph or place it inside a clear ornament frame for extra protection.
A nice tradition: Make one photo ornament every Christmas. Over time, your tree becomes a family photo album with branches.
8. Create Dried Orange Slice Ornaments
Dried orange slices add a warm, natural look to Christmas trees, garlands, and wreaths. They also happen to be inexpensive.
What You'll Need
- Fresh oranges
- Sharp knife
- Baking sheet
- Parchment paper
- Twine or ribbon
How to Make Them
- Have an adult slice the oranges into thin, even rounds, approximately 1/8 to 1/4 inch thick.
- Blot excess moisture with paper towels.
- Arrange the slices in a single layer on a parchment-lined baking sheet.
- Dry in a low oven, around 200°F, turning periodically and watching carefully to prevent browning.
- Continue until the slices are thoroughly dried, which may take several hours depending on thickness.
- Cool completely before adding twine.
Make a small hole near the rind for hanging.
Don't store slices that remain damp or sticky inside. Moisture can encourage mold.
These ornaments look especially pretty alongside wooden decorations and simple greenery.
9. Make Scrap Fabric Christmas Ornaments
Have leftover fabric from sewing projects? Put those scraps to work.
Cut simple shapes from cotton fabric and glue them onto sturdy cardstock. Try stars, hearts, Christmas trees, or circles.
Add a ribbon loop and decorate with buttons or fabric trim if appropriate for the age of the crafter.
For a slightly more polished look, use pinking shears to create decorative edges.
This is also a lovely way to reuse fabric from an outgrown holiday outfit. Just don't cut up the family heirloom without asking first.
That could make Christmas dinner unnecessarily interesting.
10. Create Pinecone Christmas Ornaments
Pinecones make beautiful natural ornaments with very little effort. Choose clean, dry pinecones that are free from insects and debris.
You can leave them natural or add a little craft paint to the tips. Tie a sturdy piece of twine around the upper scales, securing it so the pinecone hangs properly.
Add a ribbon bow if you like. For a snowy appearance, brush a little white craft paint onto the outer edges.
If collecting pinecones outdoors, inspect them carefully and clean and dry them before bringing them inside.
Skip loose glitter and small decorations if pets or young children might reach the ornaments.
11. Make Personalized Initial Ornaments
These are especially fun when everyone in the family gets to design their own. Cut large letters from sturdy cardstock or purchase unfinished wooden initials.
Decorate with:
- Paint
- Washable markers
- Patterned paper
- Ribbon
- Stickers
- Small felt shapes
Attach a hanging loop to the top. Let each person choose their own colors and design.
You'll probably end up with a tree featuring one elegant gold initial, three rainbow letters, and something that looks like it was decorated during a minor glitter emergency. Perfect.
12. Create a Family Memory Ornament
This may be the easiest ornament of all. And one of the most meaningful. Each family member writes a favorite memory from the year on a small strip of paper.
Fold the notes and place them inside a clear, shatter-resistant fillable ornament. Add the year on a paper tag tied to the top.
You can include:
- A favorite vacation
- A funny family moment
- A special accomplishment
- A new pet
- A memorable holiday
- Something everyone wants to remember
Hang it on the tree. Next Christmas, open it and read the memories before adding a new ornament.
It's a simple way to create a tradition without buying more supplies than you can fit in the hall closet.
How to Make Homemade Ornament Crafts Easier With Kids
A little preparation can save a surprising amount of frustration.
Choose Two or Three Projects, Not Twelve
You don't have to make every ornament on this list in one afternoon.
Pick a few based on your children's ages, attention spans, and interests.
You can always try another project next weekend.
Set Up a Craft Station
Cover the table with washable protection.
Set out the supplies for each project in separate containers.
Keep scissors, glue, and paint within easy reach of the children who are old enough to use them safely.
Put adult-only supplies somewhere else.
Make a Sample Ornament
If you're introducing a new craft, make one example first.
This helps you figure out whether the instructions actually work and whether the project is appropriate for the kids.
It's much better to discover that a project needs overnight drying before six children are waiting to hang their masterpieces.
Accept Imperfection
The point of homemade ornaments is making something together.
A crooked star isn't a crisis. Neither is a Christmas tree ornament with purple branches and seven trunks.
Let the kids make their own creative decisions. You can have a coordinated tree when they're grown. Maybe.
How to Store Homemade Christmas Ornaments
Homemade ornaments often need a little more care than commercial decorations.
Before packing them away:
- Make sure every ornament is completely dry.
- Wrap fragile ornaments individually in acid-free tissue paper or another suitable protective material.
- Place heavier ornaments at the bottom of sturdy storage containers.
- Keep delicate paper ornaments away from moisture.
- Label the container so you can find everything next Christmas.
- Store ornaments in a cool, dry place away from pests and temperature extremes.
Salt dough and dried fruit ornaments are particularly sensitive to moisture. Check them for deterioration before reusing them each year.
And don't feel obligated to keep every craft project forever. Save the meaningful favorites, photograph the others, and make room for next year's creations.
Frequently Asked Questions About Homemade Christmas Ornaments
What are the easiest Christmas ornaments for young children to make?
Paper ornaments, large felt shapes, and decorating shatter-resistant plastic ornaments are good starting points. Choose materials without choking hazards and supervise according to the child's age and abilities.
What can I use to make Christmas ornaments without spending much money?
Paper, cardboard, fabric scraps, craft sticks, ribbon remnants, and pinecones can all become inexpensive ornaments.
How do you make homemade ornaments last longer?
Use sturdy materials, allow paint and glue to dry completely, protect delicate surfaces when appropriate, and store ornaments away from moisture and crushing.
How long do salt dough ornaments last?
Well-dried salt dough ornaments may last for years when stored properly, but longevity varies with moisture exposure, thickness, sealing, and storage conditions. Inspect them for damage or mold before displaying.
Can I make homemade Christmas ornaments without glue?
Yes. Paper snowflakes, tied ribbon decorations, folded paper ornaments, and some fillable ornaments can be made without glue.
Are homemade ornaments safe for pets?
Not necessarily. Salt dough can be toxic if swallowed because of its salt content. Small decorations, ribbon, and other craft materials can also pose risks. Hang vulnerable ornaments out of reach and choose pet-safe decorating materials.
Keep Going: More Ways to Make the Holidays Easier
If you've still got a little holiday enthusiasm left after making ornaments, here are a few more ideas to keep the season festive without turning your house upside down.
Ideas for Family Traditions
Create holiday rituals your family will actually look forward to repeating.
Creating New Family Traditions
Simple ways to make everyday family moments—and special occasions—more memorable.
Easy Holiday Cleaning Tips
Get your home ready for guests without spending the entire holiday season cleaning.
Holiday Home Cleaning Hacks
Practical shortcuts for getting your home ready for entertaining.
The bottom line: Homemade Christmas ornaments don't need to be expensive, complicated, or perfect.
The best ones are often made from ordinary supplies, with a little imagination and a lot of enthusiasm.
And years from now, nobody will remember whether the stars were symmetrical. They'll remember making them.
- Clean Home
- Family Life
- Easy Homemade Ornament Ideas