- Clean Home
- Home Maintenance
- How to Winterize Your Home
How To Winterize Your Home
How to winterize your home. A house may last for generations, but its parts and systems will only last a lifetime with regular attention.
A roof can spring a leak, or a furnace can fail on a frigid winter night. Don't wait until the first storm to winterize your home for those reasons and more.
The few hours spent checking your home's major systems and surfaces and making any needed repairs could save you a bundle on expensive and inconvenient emergency repairs later. Here's how to winterize your home. Let's start at the top.
How To Winterize Your Home - Roof Patrol
Start with a visual inspection of your home's exterior, starting at the top.
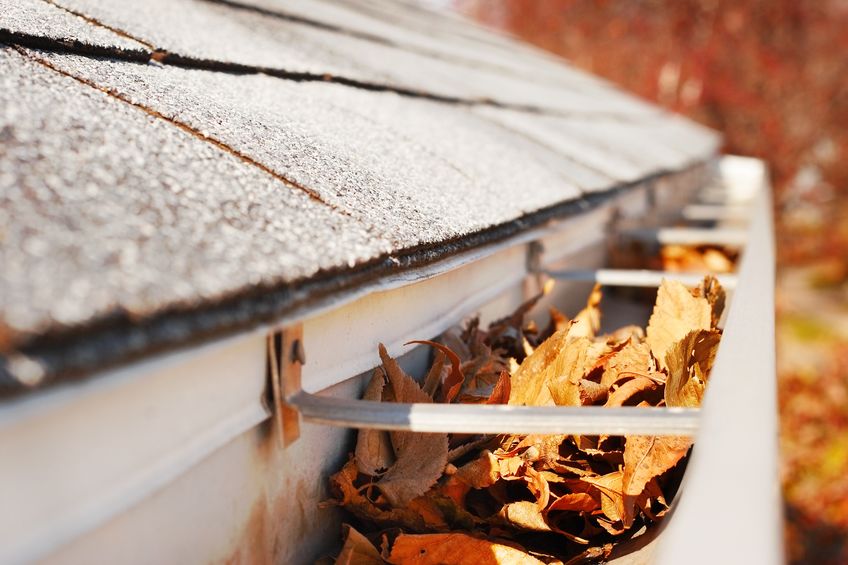
Ensure that roof gutters are clear of debris and that all roofing materials and flashing (those metal seams along the edges) are intact. A roof that is clear of debris and intact is essential to the well-being of your home and everything in it.
If your roof is flat enough to walk on safely and is not clad in a fragile material (such as tile or thin cedar shingles), you can perform simple tasks with little more than a broom and a few basic tools.
Have someone help you haul the tools you'll need up the ladder and onto your roof as you winterize your home.
Then use a broom, a lightweight leaf blower, or a hose with a spray attachment to remove leaves and dirt from the rooftop.
Next, use your (gloved) hands and a small brush to remove debris from gutters and downspouts. When all the visible debris is removed, pour water through the gutters and spouts to ensure they drain freely.
If you prefer, you can clean gutters more safely (albeit more slowly) from a ladder held securely by an assistant.
Next, check the flashing around any chimneys, vents, skylights, or parapet walls. Look for gaps, cracks, and missing shingles.
If you discover problems, call and make a service appointment now - before problems become emergencies.
Check the Fireplace and Chimney
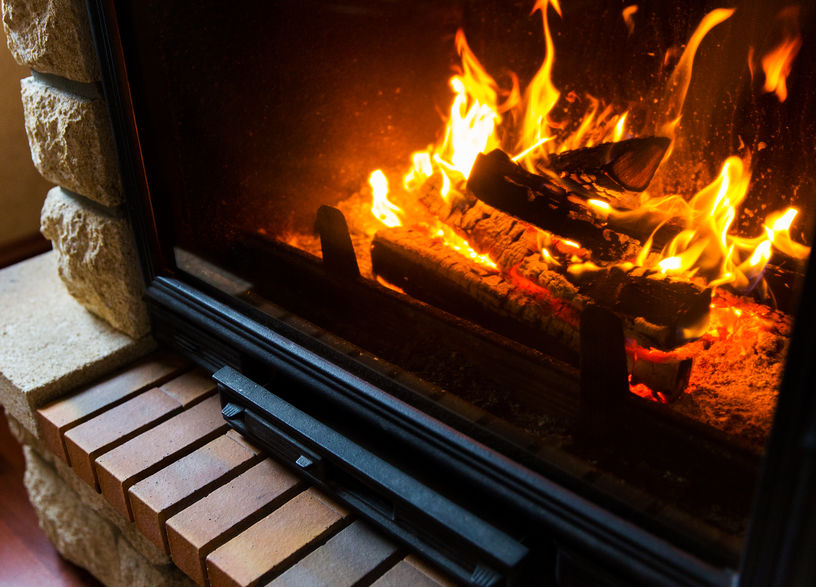
Next, check for fireplace or chimney problems. Newer fireplaces and stoves are better than traditional open hearths at controlling airflow and thus providing heat efficiently.
Whatever the age of your fireplace or stove, professional chimney inspection and cleaning each year is a must to keep soot and creosote from building up and leading to a chimney fire.
Avoid burning resinous woods such as pine (which leaves creosote in the flue), evergreen boughs, and large quantities of paper, which can quickly explode.
While you should leave chimney cleaning to the pros, you can undertake minor maintenance yourself: If you burn wood, clean the stove or firebox between fires.
Scoop up cold ashes and place them in a metal container. Close the flue or air intake after each use to keep indoor heat from escaping up the chimney.
How To Winterize Your Home Heating System
Winterize your home heating system. On a cold night, your heating system is the last thing you want to have break down.
Not only could such a mishap be uncomfortable and expensive, but it could also be dangerous: A faulty gas or oil furnace may emit deadly carbon monoxide gas.
A fall tune-up for your furnace will prolong its life and keep your family safer while your home is closed up against the chill outdoors.
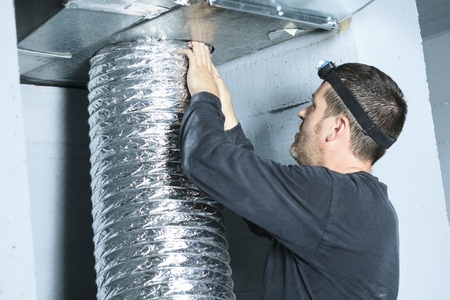
Older forced-air furnaces should be serviced annually (at least every two years) to adjust the belts, lubricate the motor, check safety controls, adjust the air-fuel mixture, and inspect the combustion chamber.
Furnaces that are less than 10 years old should be serviced every 3 to 5 years. You'll need a professional to check for leaks and to test the safety controls.
Depending on the type of heating system you have, there are things you can do yourself to keep it running smoothly and safely. If you have any electric baseboard heaters, the only maintenance required is regular dusting.
For forced-air heating systems, clean or change the air filter once every heating season (more frequently if you have pets) and keep the surrounding area clean. Move all combustible materials well away from the furnace.
Even well-maintained furnaces and appliances can emit toxic carbon monoxide (both odorless and colorless), making carbon monoxide detectors essential. Test detectors monthly and replace the batteries once a year.
How To Winterize Your Home - Check for Leaks and Mildew
To winterize your home, spot-check your home's exterior and interior. If you see any cracks in masonry or stucco, between siding and window or door frames, or in corners, seal them with caulk to keep air and water out of your walls.
Check seldom-used places such as the attic, basement, and farthest corners of your garage for any signs of leaks. If you discover evidence of a water leak inside—such as wall or floor stains, streaks, or standing water—make appointments for needed repairs.
A long-standing basement leak could be a symptom of poor grading or impeded drainage around the outside foundation—a serious problem that mere caulking cannot solve.
At least twice a year, use a bleach solution to scrub away mildew from your home's exterior. Mildew will eat away at your exterior paint if unattended to, resulting in an expensive fix later.
As needed, sweep up and remove debris from outdoor walkways and steps. If you notice any algae or other growths, scrub them off with a hard-bristle brush and bleach.
Pedestrian surfaces covered with algae, moss, or other substances can be slippery and dangerous when wet.
Indoors, regularly peek beneath your dishwasher and washing machine and at the pipes that serve them.
Many larger appliances have removable panels along the floor, allowing you to peer underneath. Such sleuthing will reveal small leaks that can sometimes go undetected for months.
Also, check for leaks under the sink, especially where the dishwasher drain hooks up to the main drain. If you spot a leak, you can fix it yourself by tightening the nuts on the pipe joints that service the dishwasher and the sink. If you can't stop the water flow yourself, call a plumber.
Weather-Strip Doors and Windows
How to winterize your home. In many homes during cold weather, warm indoor air escapes outside through numerous tiny holes and gaps around pipes and vents, along seams between walls and floors, and between masonry and siding.
Wind gusts can also force cold air through these openings and into your house, raising your heating bill.
As your house ages and settles, or expands and contracts with changes in temperature or humidity, these gaps can open, allowing moisture to enter your walls.
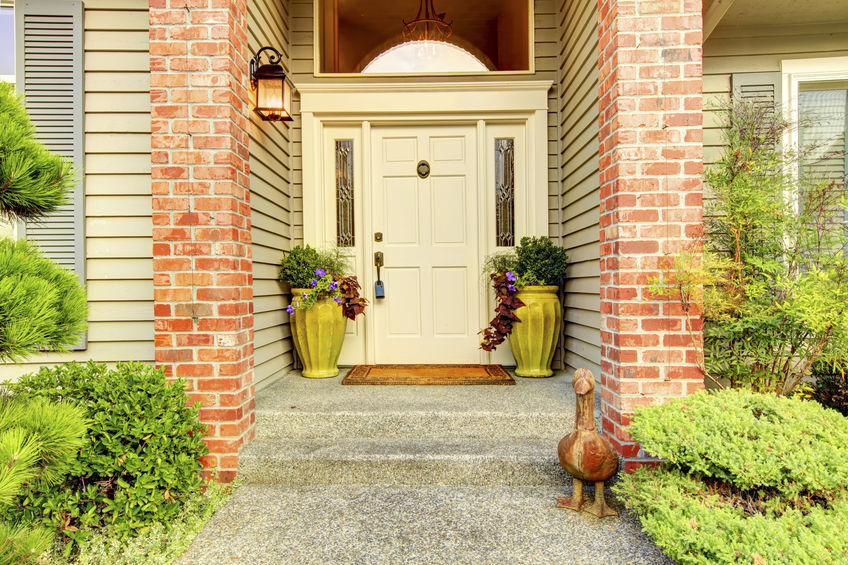
If you see the light around your doors and windows from the inside or feel a draft, it's time to winterize your home. Seal with weather stripping or caulk.
Installation of most weatherstripping is simple. It involves either stick-on materials or the more durable metal stripping, which is applied with small tacks.
Experts recommend weather stripping the entire perimeter of exterior doors: Affix one continuous strip along the top and sides, and attach a floor "sweep" to the inside bottom of the door. Most weatherstripping kits and door sweeps come with detailed instructions.
If you find gaps on the outsides of window or door frames, they'll need to be caulked. You can do this easily with a caulking gun and an inexpensive, exterior-rated caulk.
Latex caulk is the simplest to use: The excess can be cleaned with water. It can also be painted.
Begin by thoroughly cleaning the area to provide a good surface for the caulk to adhere to. Squeeze the gun trigger and apply the caulk. Smooth the caulk line and clean the excess with a wet sponge before the caulk dries.
OK, you have your winterization checklist. There's no time like the present to get started.
As an incentive, picture this lovely holiday scene: The guests are arriving, the heater is on the blink, the roof is leaking, and the chimney catches fire. This is no time to be a Scrooge.
- Clean Home
- Home Maintenance
- How to Winterize Your Home
