Transplanting Plants
Indoors For Winter
Temperatures are dropping outside, and plants are taking notice. The best time to begin transplanting plants indoors for winter is before the temperature drops below 40 degrees Fahrenheit at night.
Even sooner for tropicals. Otherwise, this may be your begonia's last summer camp. You can't just pick up the pot, however, and lug it back inside. Well you can, but that's not really smart.
Gradually acclimate your garden residents to the dimmer light conditions inside. Put them in a shady spot for a day or so, then move them under an eave, then to the porch.
Of course, if you're expecting frost tonight, forget acclimation and just go for it. Begin transplanting plants indoors for winter pronto.
De-bug Plants Before Bringing Indoors
Chances are your geranium picked up a few buggy neighbors that you don't want to turn loose in your house. Before transplanting plants indoors for winter is the best time to de-bug them.
To do this cover the soil with a plastic garbage bag. Wash the leaves with soapy water and rinse. This will kill most pests.
Some, however, such as spider mites and scale, will need a light spraying of fine oil - a nontoxic way of killing these garden pests.
Provide Fresh Soil to Winter In
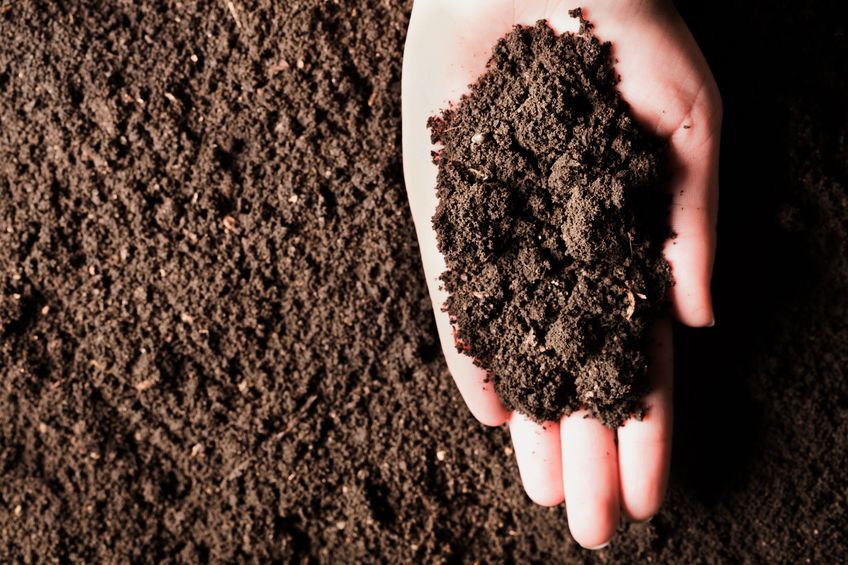
Now that they are squeaky clean, it's time to begin transplanting plants indoors for winter. Concentrate on the soil. I like to repot mine when moving them back inside. Not only does this remove any burrowing insects but it also gives it a nice, fresh soil to winter in.
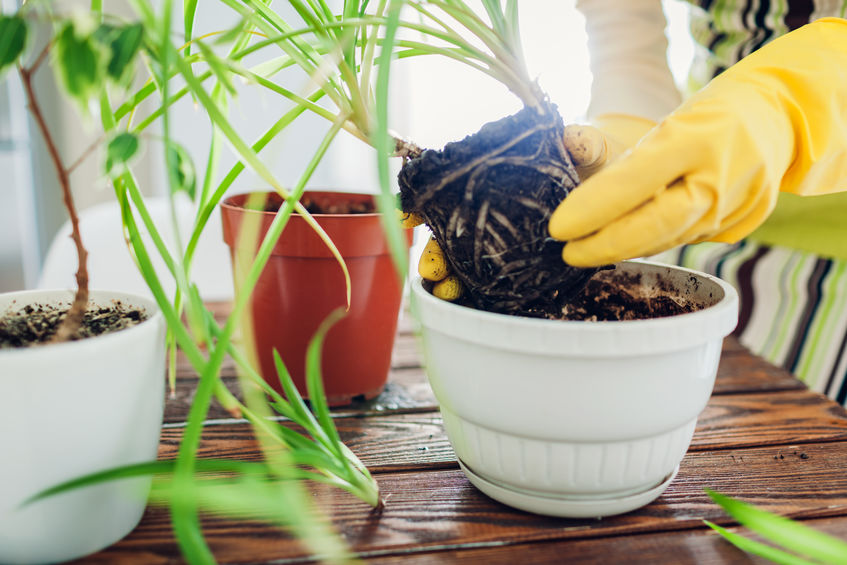
To do this, water lightly then remove it from its pot. Is it root bound? If the roots are going round and round, the answer is yes. If so, you've got two choices: Repot it in a larger pot (don't go up more than two inches in diameter, though) or trim it back.
If You Re-Pot When Transplanting Plants Indoors For Winter
Loosen the root ball with your fingers so that the roots are generally pointing down. If they're wound too tight, you may have to pry them apart with a dull knife.
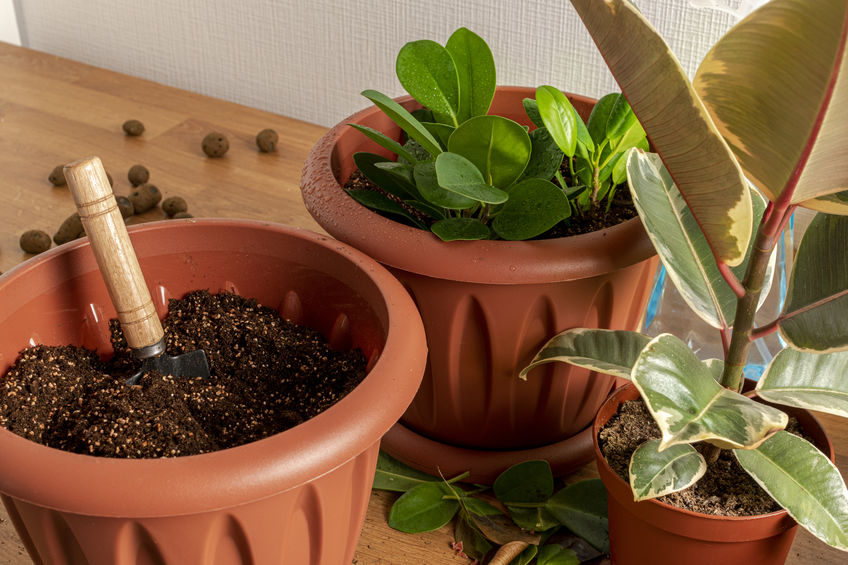
Put enough soil at the bottom of the container so that the crown (the part where it grows out of the ground) will be covered to the same depth as before. Slowly add more potting mix, gently tapping it down as you go. Water.
Your plant may sink a bit in the soil. If so, pull the crown back up to the desired depth and add more soil around and under it. Water again to remove air pockets.
If You Don't Move Up to a Larger Pot
If you don't move up to a larger pot the drill is much the same. Water, then remove it from the container.
With a sharp, sterile knife, trim the roots back by one quarter to one third, then trim back the foliage accordingly. Wash the container and fill the bottom with enough soil so it will be potted at the same depth as before.
Proceed as detailed above, slowly adding soil and gently patting it down. Water and adjust the soil level if necessary. Now find a new home for your post-vacationer near the brightest window.
As it becomes accustomed to the dimmer light, you can move it to darker areas. Don't be surprised if it yellows a bit and drops a few leaves at first. But if it continues dropping leaves, try to find a sunnier spot.
Remember that the plants won't need watering as frequently indoors. Poke your finger down into the soil and only water when dry. Cut back on fertilizer, too.
I fertilize mine only every other month with a very diluted solution. Some people don't fertilize during the winter at all.
- Clean Home
- Backyard & Garden
- Transplanting Plants Indoors for Winter
