- Clean Home
- Kitchen Cleaning & Organizing
- How To Organize Kitchen Cooking
How To Organize Kitchen Cooking
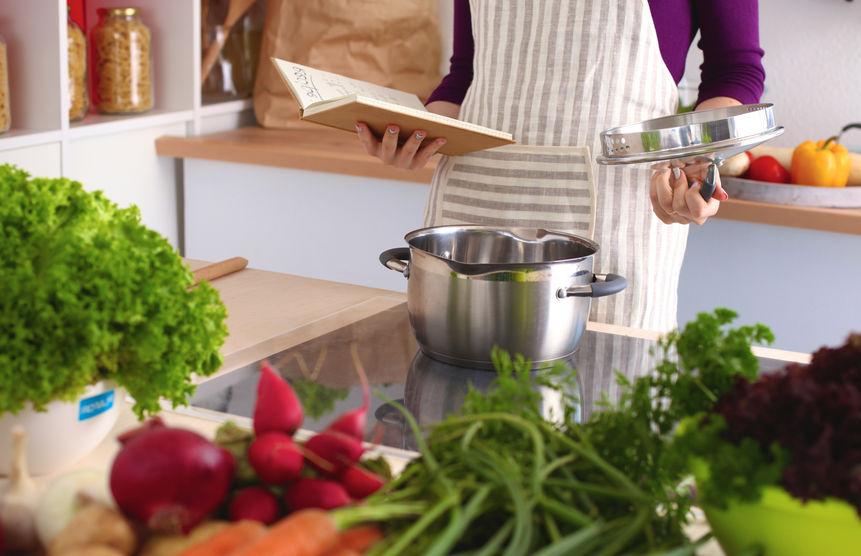
How to organize kitchen cooking. You can organize cooking by creating activity centers for all that you do here daily.
Cooking can be subdivided into smaller sub-activities, such as heating food, slicing and dicing, food preparation, baking, and snacking.
This practical plan not only saves steps but also allows for two people to work simultaneously without getting in each other's way. Here's how to organize kitchen cooking areas in your home..
How To Organize Kitchen Cooking Around the Range
Pots and pans go in the cabinets directly underneath the range. Hang hot pads by the range.
Organize kitchen drawers by grouping the most frequently used cooking tools in ceramic jars or other attractive holders on top of the range.
But Include only those utensils you use once a week. The drawers will be neater - with more space for other cooking items.
How To Organize Kitchen Cooking Slicing and Dicing Centers
Near the sink, create a workstation with all the paraphernalia you need to wash, peel, and chop foods, including knives, butcher block, peelers, scrub brushes, bowls, etc.
Food Prep Center
Here's where you would group scrapers, colanders, mixing bowls and spoons, whisks, measuring cups and spoons, blenders, and your food processor. Try to contain them all in one cabinet.
Baking Center
Organize kitchen cooking by arranging everything you'll need for baking in one cabinet. Then, organize the items inside plastic storage containers for grouping like items.
I organize kitchen cooking and dessert prep by putting our collection of cake and ice cream sprinkles and candy toppings in a big plastic box.
When it's time to frost cupcakes for class, the kids know where to go.
Nearby, in a second see-through container, they'll find baking soda, baking powder, and sugars, everything they'd need to make the cupcakes. (Except for the flour. To chill out any wiggly creatures, I put my flour inside a zip-close bag that calls the freezer its home.) You don't have to be so finicky.
But you should at least place your opened sugars (brown, powdered, and regular) and flours in airtight plastic containers or zip-close bags to close in freshness and contents and close out nasty bugs that love to cozy up, then divide and multiply there.
Below are three more activity areas to consider as you organize kitchen cooking:
How To Organize Kitchen Cooking - A Kids Snack Station
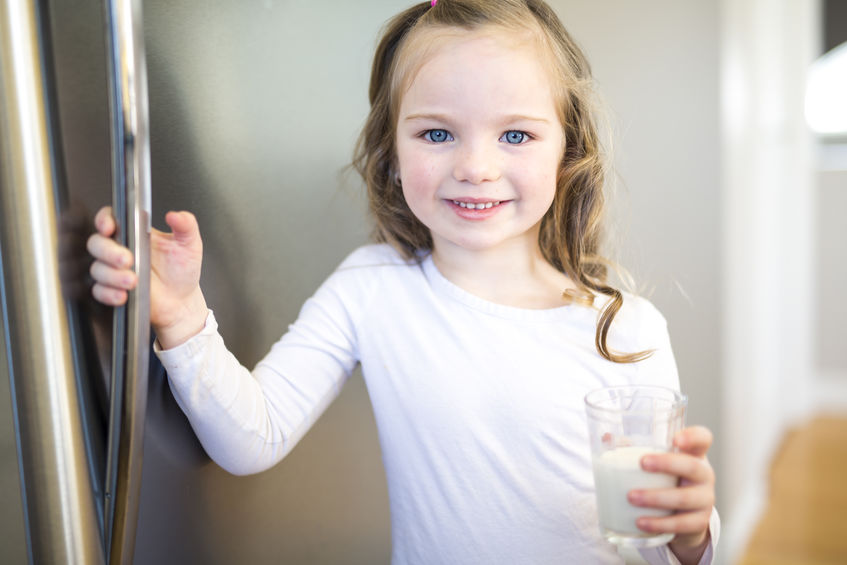
Make kids more independent and let them fix their own breakfasts, lunches, and snacks. In an accessible low cabinet (away - far away - from the stove), station snack foods for the kids: peanut butter, bread, jelly, raisins, cereal bars, cereal, chips, and zip-close bags.
This is also a good spot for storing lunch boxes. Grouping these items makes it easy for kids to pack their own lunches. Our pullout breakfast drawer was instituted when my kids were 3 and 4 years old. I'd leave a small cup of milk on the lowest shelf in the fridge.
In the morning, they'd pour their cereal and milk with no help required from Mom, who was rewarded for their creativity with an extra hour of sleep on Saturday mornings.
Dish Storage Area
Oh yeah. You eat in the kitchen too! So you'll need to make room for your daily dishes, your serving dishes, glasses, and utensils in here, as well.
Put them all in one area, and as close to the sink and dishwasher as you can get them to minimize the time spent putting clean dishes away.
- Clean Home
- Kitchen Cleaning & Organizing
- How To Organize Kitchen Cooking


